About the Design - from Alan Ury, Fantastic Plastic:
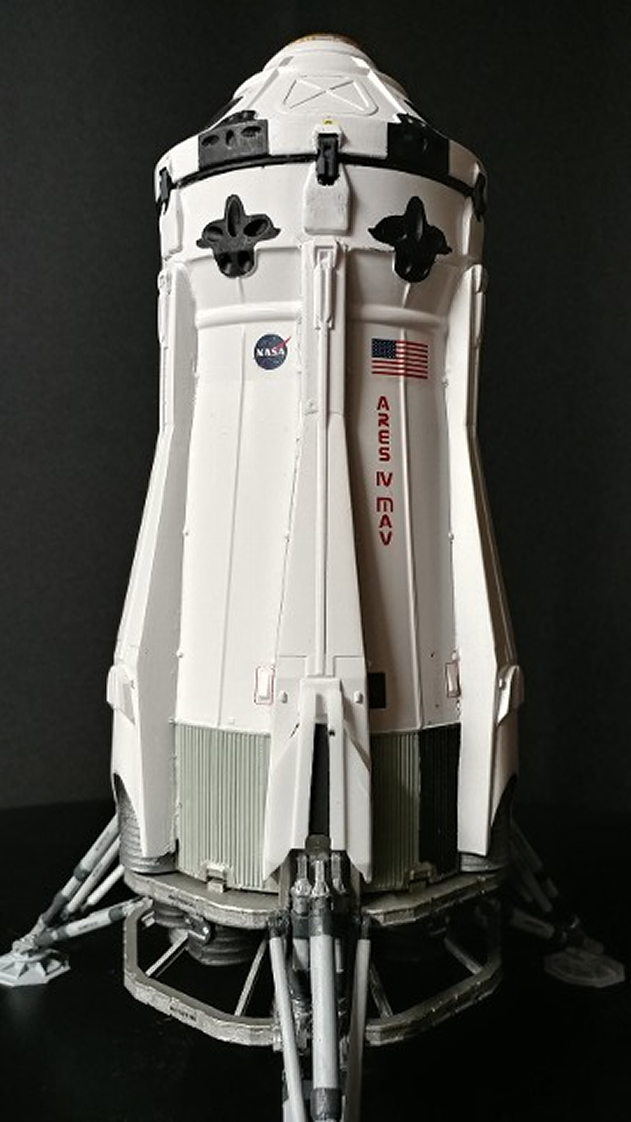
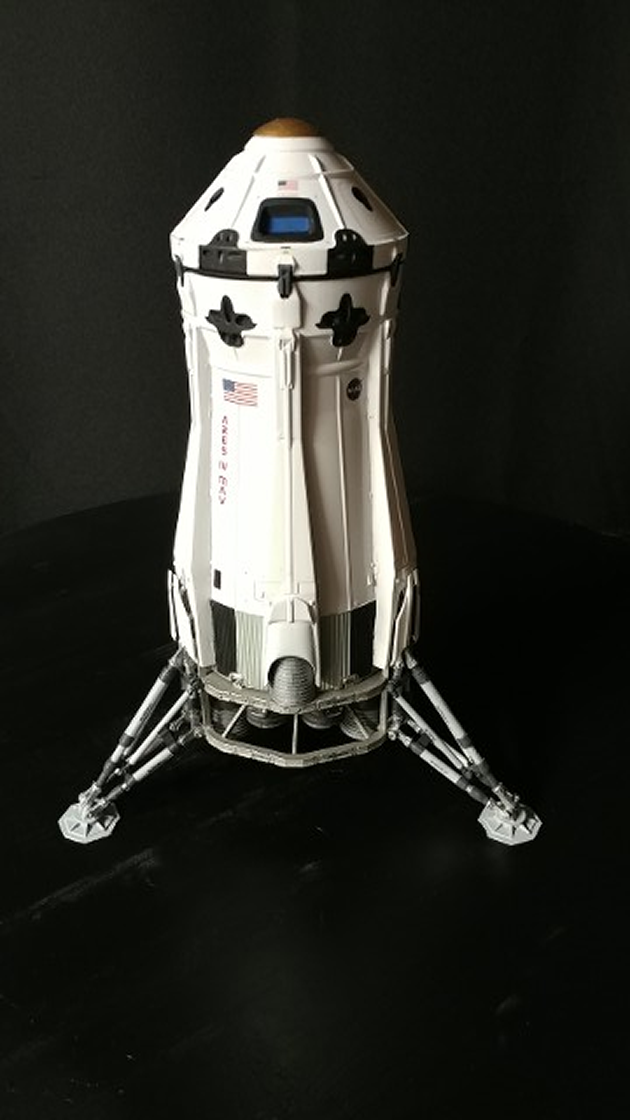
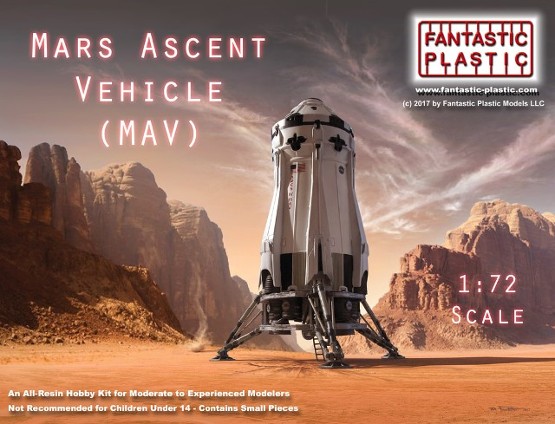
Featured prominently in Ridley Scott's 2015 "The Martian," the Mars Ascent Vehicle (MAV) is a highly plausible craft for ferrying six astronauts from the Martian surface into low orbit. The craft consists of a descent module (which also serves as a launching pad during take off), a primary ascent stage, a smaller secondary ascent stage, and the manned capsule itself.
In the movie, stranded astronaut Mark Whatley (Matt Damon), under instructions from NASA, removes hundreds of pounds of excess weight -- including the spare astronaut couches, control panels, window hatches and docking module -- so he can achieve enough speed to rendezvous with the "Hermes" mothership as it swings by during its improvised sling-shot maneuver around the Red Planet.
About the Model:
Scale: 1:72 Number of Pieces: 86
Pattern: Scott Lowther Casting: Ravenstar Studios
Decals: JBOT
My Perspective
This is one of the most challenging models I have built from FP. Some of that has to do with the level of detail put into the parts and the overall model build. Some has to do with part qualities and the “behavior of resin.” More on this topic as we proceed.
I did not chronicle the complete build, as we have done in prior reviews, so I can only relay the strengths and short-falls of the kit as I perceive them, without as many visual references.
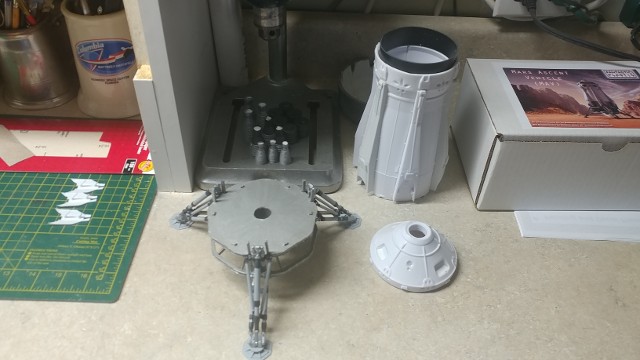
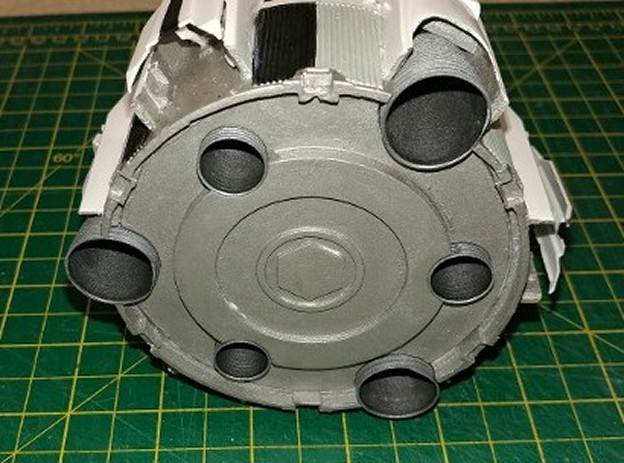
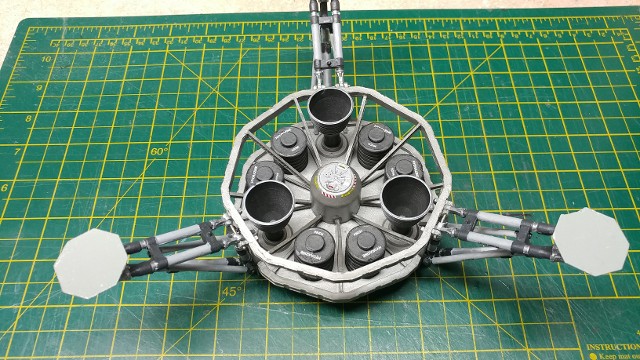
The kit is built-up in three major sections – the Descent Stage, with the landing gear and propulsion elements, the Ascent Stage(s), which are actually two propulsion elements in the “actual vehicle” but are handled as a single major assembly in this kit and the Crew Module, which rests atop the Ascent Stage.
Strengths
Detail - The major strength of this kit is the level of detail, in the molded-in surface details to the multi-component landing gear, to the number of individual marking decals, this kit has incredible visual realism when completed.
Decals - The decals provided are made by J-Bot in Canada, who is a reliable maker of very high-quality, thin-film decals. These are no exception. They are done to normal high J-Bot standards.
Weaknesses
Resin Mold-stress - Large resin parts are known to be notorious for warpage, caused during shipping or just from “mold stress,” where the resin tries to re-think its shape after being released from the mold. I had this problem during the outer ring assembly of FPs Space Station V (2001 movie) model, and it come back in spades on this kit.
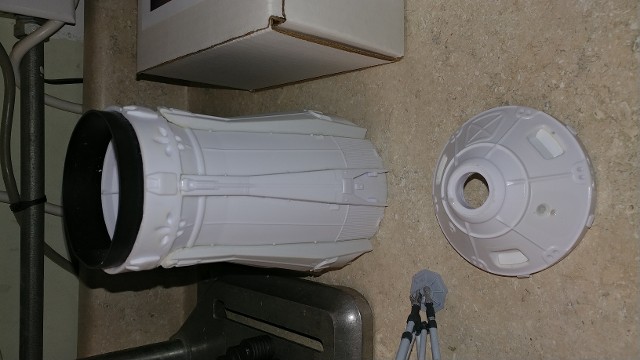
The big issue were the three major resin panels which constitute the Ascent Stage body. They not only have to trimmed and cleaned of flash very carefully, but they fit also have good fit “agreement” with each other, in order to reduce gaps and create a cylindrical shape. That was the problem – they did not do that.
So, I had to refer back to “lessons learned” from Space Station V and put a big pot of hot water to the task. The real trick was that I could not just heat up one panel at a time and attempt to re-shape its curvature to work with its partners. I had to get all three panels “started” by tacking them together with ACC cement, wrap wide, heavy rubber bands around the assembly at the top, middle and bottom and place the whole affair into 170 degree water for about 5 minutes. Yes, I had to "poach" my MAV. This not only softened the resin so it would bend slightly, the rubber bands pulled the section into alignment with each other, to get the best fit we could. After completely cooling for two or three hours, we finished cementing the panels together and moved on to the next challenge.
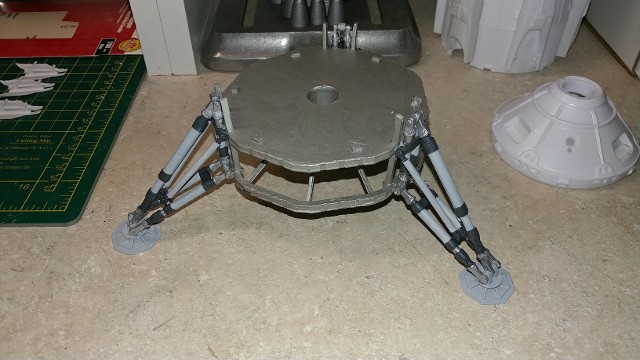
The landing gear - The landing gear of the Descent Stage are made from six resin elements which are attached to the appropriate locations on the Descent Stage by “hinge rods,” which are also a misnomer, as the gear will not fold on the model. The cut metal rod sections are just used to hold and align the joints. This means each round joint point on the long gear struts had to be drilled out with a 1/16” drill bit, to open the hole where the rod section goes through. Each long strut has two of them, so 12 holes must be drilled out for each gear assembly. This is a long task, not to mention all of the flash clean-up required on all of these parts.
However, once completed, the gear look great and provide a ton of visual detail to the model.
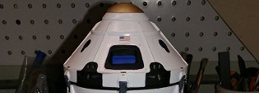
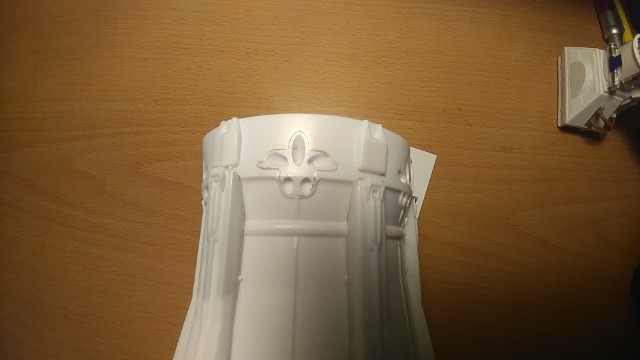
Crew Module molding - The Crew Module is a single cast resin piece, with what appear at first glance to be flashed-over holes in each window bay. Well, they were not – they were actually the very thin (almost vacant) lower window sills for the three big windows of the Crew Module. I made the mistake of cleaning them out, thinking there were flash. So later, I had to place sections of 0.30” styrene plastic in to put back the lower sills. So, be advised!
Decals – If the J-Bot Decals were supposed to be a “strength,” where’s the problem? Well, it’s in the “numbers.”
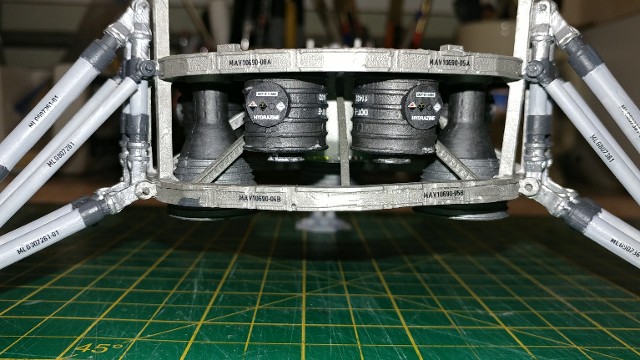
The landing gear have one small decal strip of ID numbers that go on each one of the gear strut cylinders. Since the decal sheet is a “single-sheet” decal, each one of those must be cut out and handled individually. That makes each gear decal about 2 mm wide by 6 mm long. A real challenge to handle, both in soaking and then in application. A small, dampened artist brush is essential to placing and locating these decals. The same holds true for the fuel tank markings.
Now, if you think those were small, try out the little red “right angle” decals to be placed above the each corner of the three Crew Module window openings! Those end up being about 2 mm square each when cut out! They are very easy to loose grip on in the water bath. In retrospect, the use of e teaspoon to hold the decal while soaking may have helped, but you still have get hold of it, somehow. My advice, take your time…
Instructions - The build instructions for the MAV are furnished on a CD-ROM as individual JPG images, each showing one phase of construction. While most of them are fairly easy to follow, I found some to lack specific details that might have made the assembly easier. While the concept of a completely pictorial manual is somewhat attractive, it still seems a bit wanting in clarity of intent in some of the steps. Look over each one of the images and review the assembly steps before committing to the final fitment of the parts.
Painting - There are so many areas for detail painting on this model that a set of professionally-made paint masks would have been a God-send, especially for the RCS cluster surfaces on the Ascent Stage and the Crew Module. If you are going to try and paint them freehand (as I did), use a new small-tip brush, be mindful of the amount of paint your brush is carrying and watch how the brush is running as you approach the edges of each area. There are “raised details” molded-in, but they are fairly swallow and the brush will “jump the fence” if you are not very careful. Still, edge repairs and touch-ups will be necessary.
Anyway, enough bitchin’.
I feel the challenges of the build were worth it, as this is a first-class model in most respects and worthy of any dedicated Sci-Fi spaceship enthusiasts model collection.
Successful completion will also bear testament to the modeler’s tenacity, and certify tha he is a “steely-eyed missile-man,” for this is not a beginner’s kit. The box art even says so ("…for moderate to experienced modelers").
Even those of us with decades of modeling experience will find this bird a handful.
I sure did. However, the reward for the effort is in a model well-done.