Manufacturer: Anagrand Craftworks
Cost: Buran - $68 + $10 shipping, Energia - $88 + $16 shipping
Scale/Size: 1/144 scale
Parts/Media: Resin, plastic
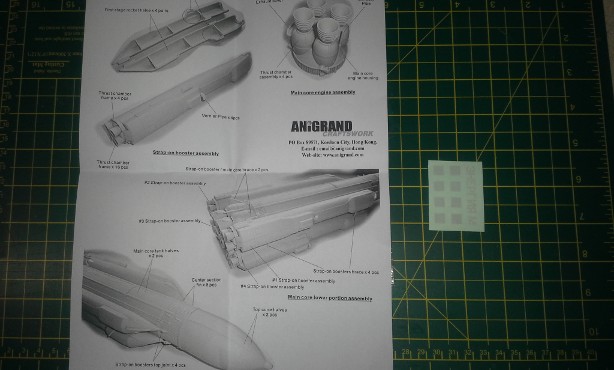
Instructions: Single Sheet, both sides each model. Basic visual instructions.
Decals:One small water-slide decal sheet with each model. Beware of Energia decals!! They require very warm water to get loose – if at all.
Paints/Supplies: None provided. Consult instructions for color references.
References: There are a few websites which have good image of the Buran- Energia stack, which can be captured and used for reference.
Molding/Casting Quality: Resin based kits. Castings may have large residual elements which need to be removed for assembly.
Detail: Overall detail – good.
Accuracy: Very accurate overall
Fit: Good. Some filling, sanding and adjustments are required.
Ease: This is a normal resin kit. Truly for experienced modelers.
Instructions: Color guidance is OK. Instructions could be improved, short on detail.
Decals: Buran decals – excellent. Energia decals – not well made. May be a bad batch.
Overall: Good looking finished product, worth the money.
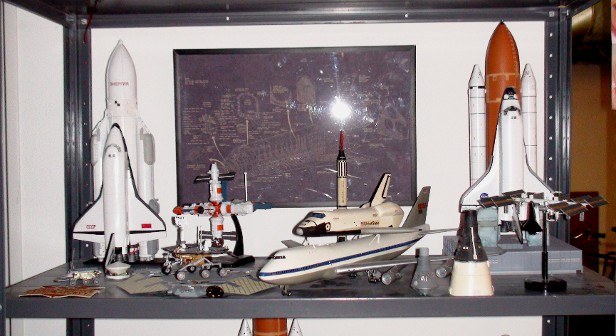
A few months ago, I searched for available model kits of the Soviet Buran Shuttle Orbiter and the Energia Launch Vehicle, in order to bring a bit of “balance” to my display of Shuttle-era spacecraft.
I found a very large 1/72 scale model of the Energia/Buran combination, made by A-Model, a Ukrainian manufacturer, sold over the Internet by “Hobbyterra,” for $480 US (!). That’s not only a lot of money, I’m really running out of room to display really “big” models, and in 1/72 scale, this would be a very, big model – on the order to the 1/72 scale Monogram Space Shuttle Stack. While this was somewhat “captivating,” I chose discretion to be the better part and kept looking for a smaller, more manageable sized model.
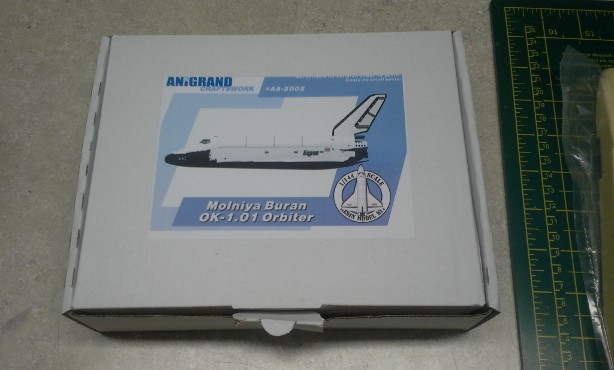
In 1/144 scale, I found a company called “Anagrand Craftworks” out of Hong Kong, offering both the Buran Orbiter and an Energia booster as separate model kits. The Buran kit cost $68 US with $10 for shipping, and the Energia kit cost $88 US with $16 shipping. Not only more affordably priced, but affordably sized as well, and a good complement to our many 1/144 scale US Space Shuttles.
While online ordering was easy, especially through PayPal, it takes some time to acquire these kits. It takes about a week for Anagrand to turn around the order, and then a solid 10-14 days for Hong Kong & US airmail to deliver them.
My first issue with the models was the way they were packed. The larger Energia kit box was opened and the smaller Buran kit was nested inside, then placed into an out packing box. This could have left the contents of the Energia model vulnerable to shipping damage, as one end of the box had been crushed. Luckily, both kits arrived in tact, but I did let Anagrand know about my concerns. They replied they would amend their packing accordingly.
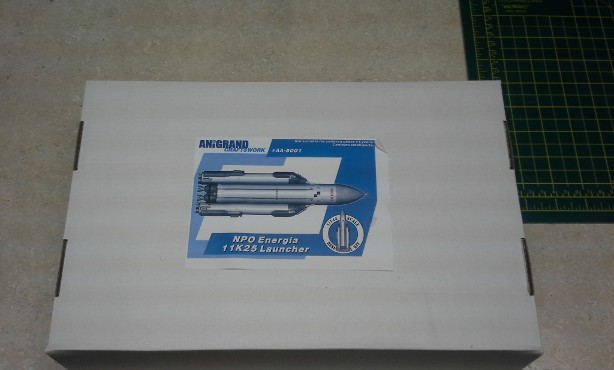
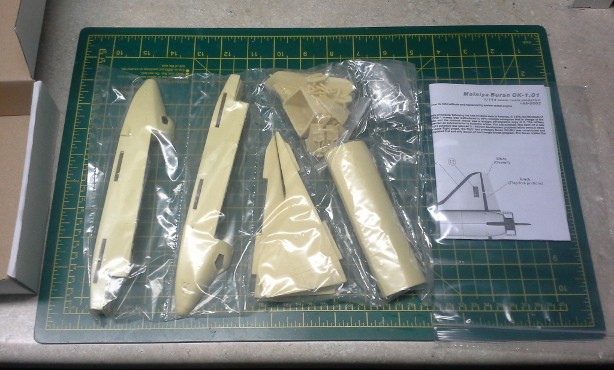
The kits are sent in their own individual boxes, which contain heat-sealed plastic bags, containing groups of parts.
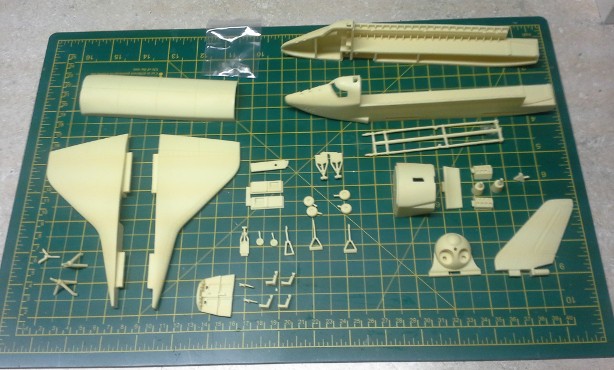
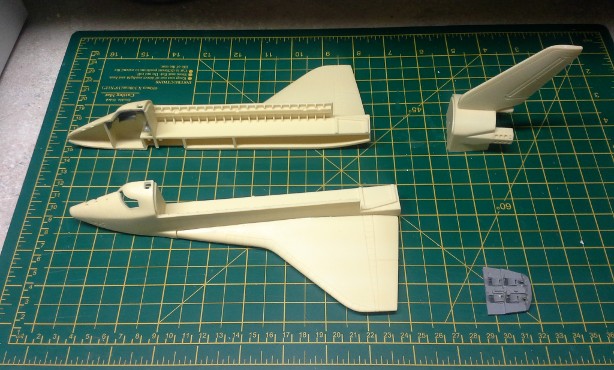
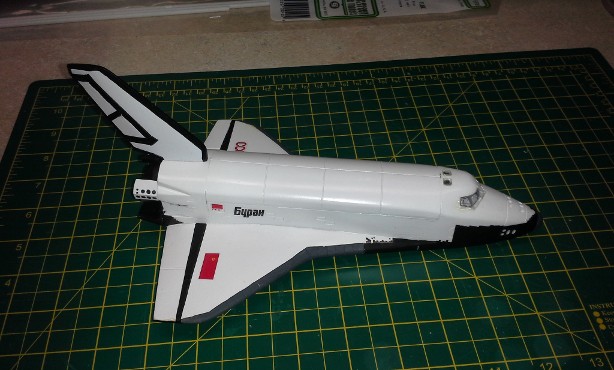
The Buran is composed of seven major parts – two fuselage halves, two wings, the payload bay door set, a rear body section and the tail. There are many smaller parts, used to build the Buran in the mode you decide – ready for launch, on-orbit with the doors open, or at landing, resting on its landing gear. Obviously, we were building for launch integration to the Energia.

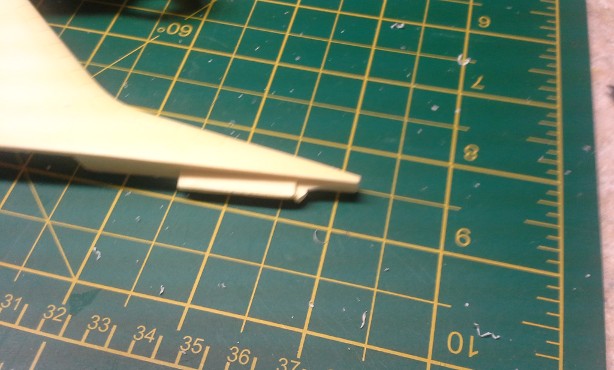
Overall, Anagrand’s resin work is very, very good, with some marked problem areas. The location tabs on each wing have large excess resin flanges which need to be carefully removed.
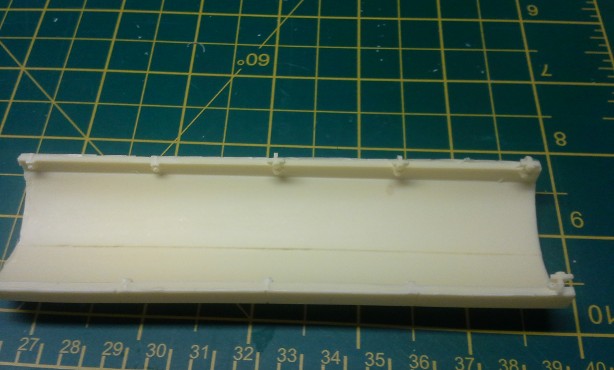
The payload bay door set have hinges cast into their lower edges, which need to be removed for the closed mode.
Here are all the resin parts of the Buran kit after cleaning off the excess resin from their edges.
We began by working on the cockpit, putting the seats and control stalks in place and doing the initial paint color to the cockpit floor assembly and fuselage interior walls.
One important note – the clear windows provided for the flight deck MUST be installed from the inside, before you attempt to put the fuselage halves together. The “instructions” are a single sheet – showing decal and color placement on the front and part locations on the back, but no provision for assembly “order” is provided. So, “Caveat Builder.” I ended up making cockpit windows out of 0.010” clear plastic sheet, that could be installed on the outside, because I did not “test fit” the windows before putting the body together.
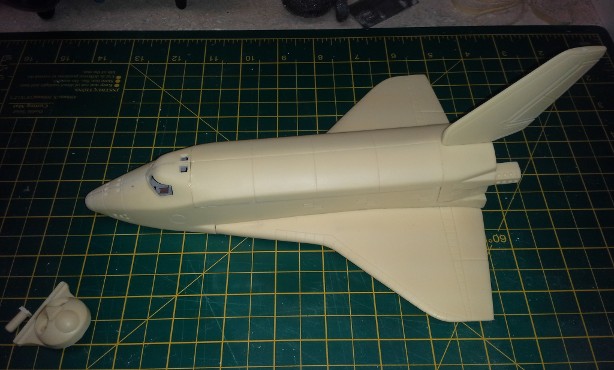
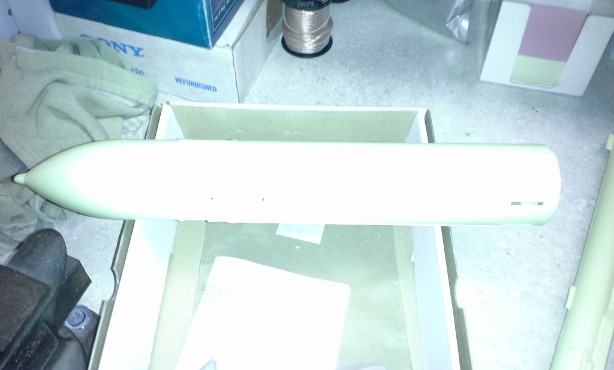
Aside from my window problem, the overall quality of part fit was also very good, as the photo of the completed primary airframe shows. There are, however, seams on the lower surface of the Orbiter and gaps between the wing tips and the body which need to be puttied and sanded to look good.
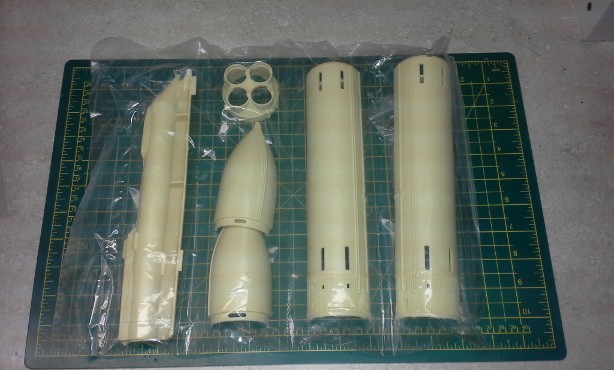
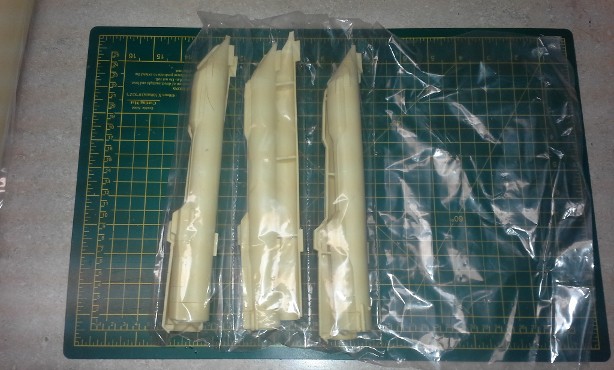
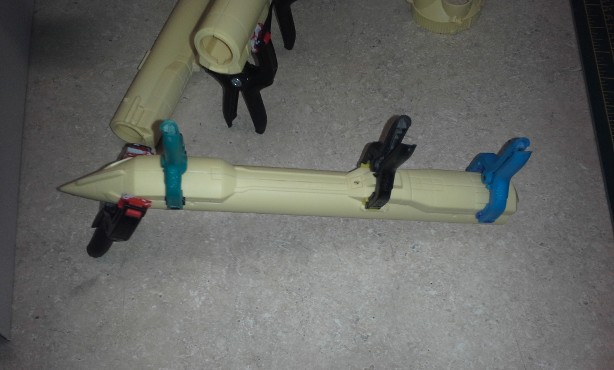
While waiting for assemblies of the Buran to set-up, I started work on the Energia, assembling the four boosters and core section. Here, again, are excess resin tabs on the front of each booster half that need careful removal and sanding before assembly can occur.
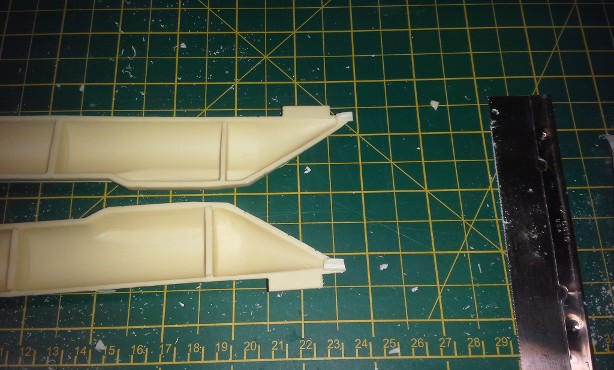
Clamps were used to compress the seams together on each booster, while rubber bands were used on the Core. Please note, that the forward core section MUST be built first, and then placed into the tabbed front edge of the main Core section. You cannot install it afterwards, unless you cut out the bottoms of each “tab slot” on the upper section.
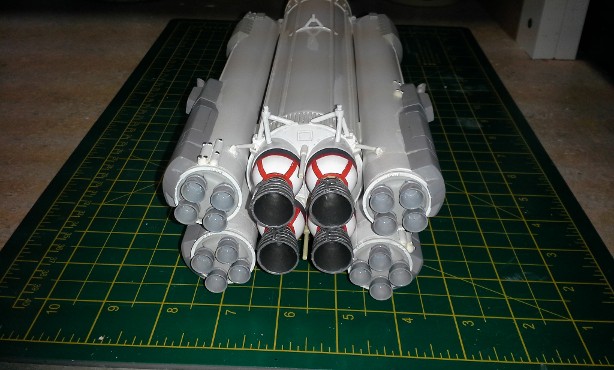
We assembled the four Core engine systems together, which would be installed onto the rear element of the Core, after the assembled Core body were painted. We did the same to the four-engine clusters for each strap-on booster.
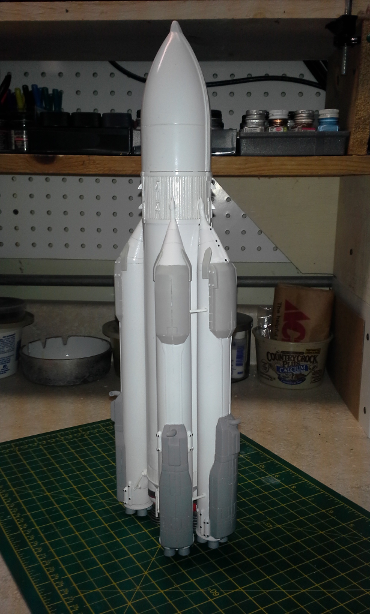
After getting all four booster body’s seams puttied, sanded and cleaned, they were all cleaned and painted gloss white. The mostly-completed Core was also painted gloss white. We started placing the assembled engine plates onto the base of each booster, as well as placing the four engine assemblies onto the Core, as indicated in the one-page manual images.
We then broke out a series of photos of the actual Buran/Energia vehicle and combined with the color recommendations of the manual, began painting the various shades of Gray onto the elements of the boosters.
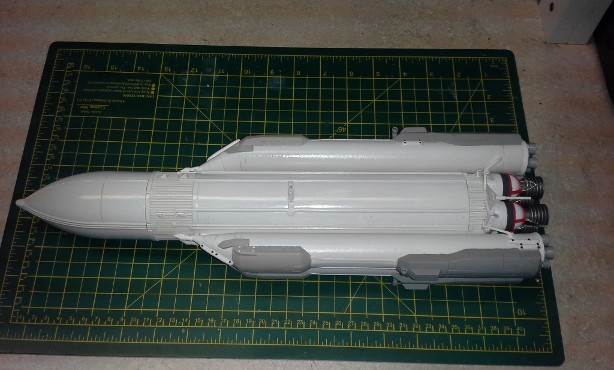
Once they were all painted, the four booster were affixed to the Core and the top Booster “joints” were installed, along with the booster/core braces.
All detail painting was done to bring the Booster braces and joints to the same white color as the rest of the system.
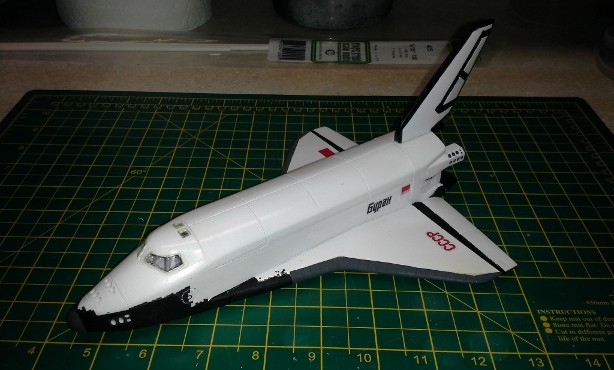
Meanwhile, the Buran was also given its white top surfaces and flat black bottom surface. The flat black and German Grey surface details were painted on, and then the black nose and wing detail decals were placed, in order to see where further flat black detail painting was required. Them the remainder of the Buran decals were placed and “Micro Sol” was use to set them in place.
Let’s talk about the decals for a moment.
The decals for the Buran worked quite well. They were soaked in very warm water and the decals slid off their backing after about 20 to 30 seconds of soak time.
The decals provided with the Energia, however, were not nearly as “cooperative.” After some minutes of soaking, the decals did not want to leave the backing paper at all, and ended up breaking apart, becoming unusable.
Anagram offers an “extra decal” set for the Energia for $2 extra. We highly recommend these, just in case the originals behave as mine did. The "extra decals" were made by a better process than the ones furnished with the kits.
I needed to reproduce the decals, as I did not have the presence of mind to scan them prior to use. The Russian work for “ENERGIA” was capture from Google Translator and the roll patterns were made of two simple black squares, touching at one corner. After proper sizing, these were printed onto clear decal stock, over-coated, dried and then cut out and placed onto the Energia.
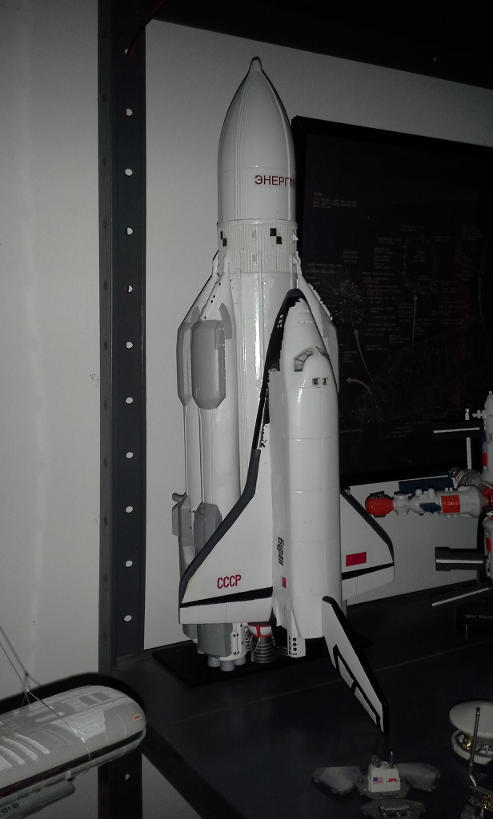
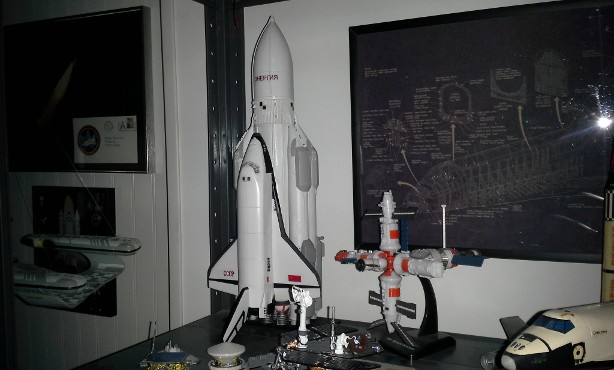
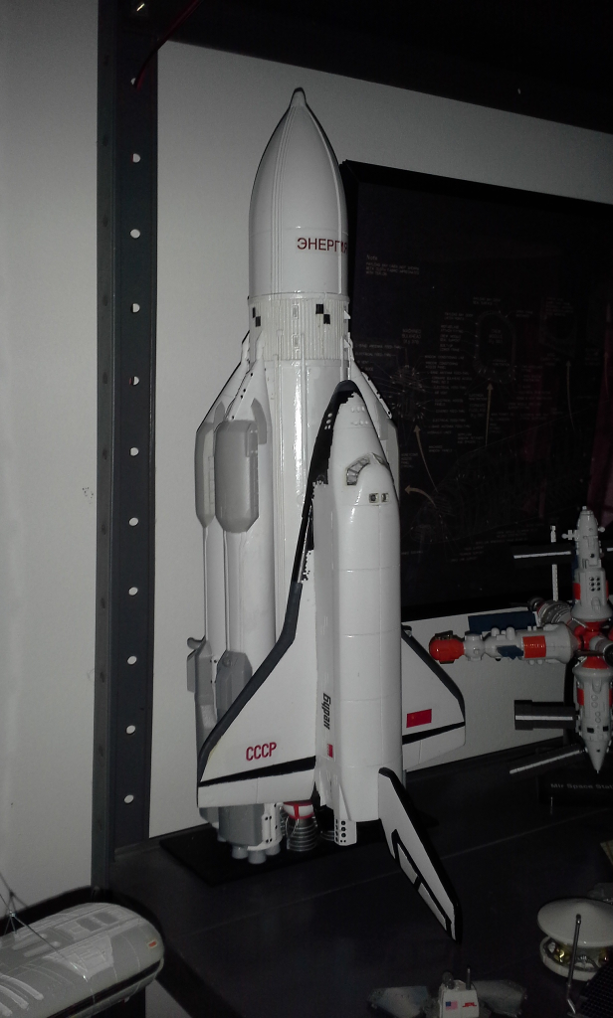
The final result is a very nice looking 1/144 scale model of the Buran/Energia vehicle. The Anagrand models are not cheap, nor are they perfect in their casting execution, but they are well made overall, and provide finished product in an affordable size and cost. Take note of the shortcomings noted here in this report, plan accordingly and you will enjoy building your own historically-accurate Buran/Energia model.