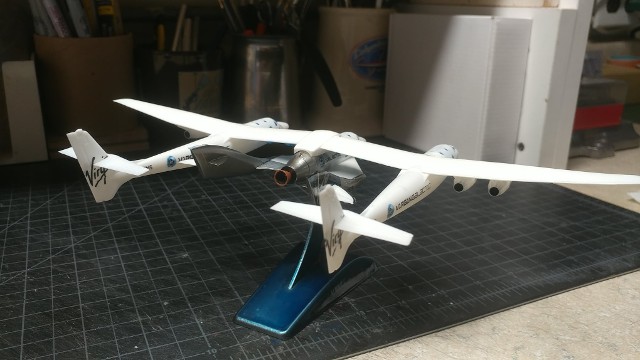
With the stunning success of the Virgin Galactic "Unity 22" flight last Sunday, I felt compelled to build another model - the Revell Germany 1/144 scale SpaceShip Two & White Knight Two model.
I'd forgotten about this kit, until last Sunday. I found a reasonably priced copy on the HobbyLink website and ordered it.
The mold quality is quite good, with parts coming off sprues cleanly and fitting together quite nicely.
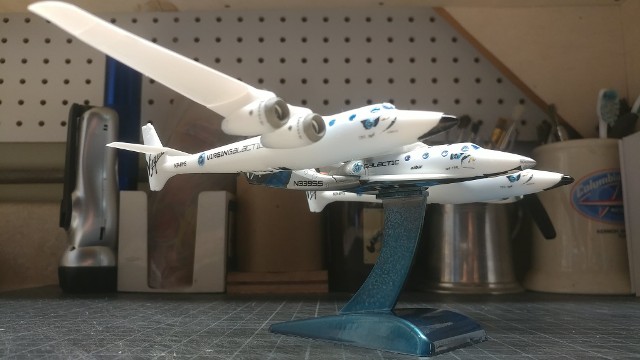
The kit can be built with landing gear down on both craft, or just on one or the other, and with the SpaceShip Two attached to its ferry pylon or remain free. This didn't quite work for me, as it would be nice to have the two mated, but also be able to separate them at will. So, two small rare-earth magnets later, one placed into the wing-pylon section and one inside the upper hull of the SpaceShip, and we're all set.
That worked out well enough to encourage me to do the same thing on the SpaceShip's belly, so that the model could be placed onto its display stand solidly, or removed at will.
Magnets are Fun!!
Once all the bits are glued together, I'll begin putting on the beautiful decals they furnished. The decals were done in Italy and look great.
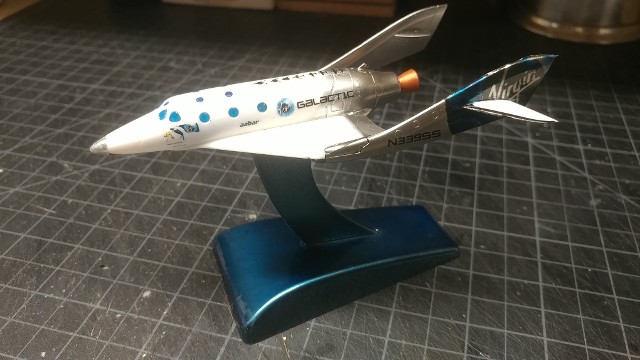
The "Virgin" tail markings for the SpaceShip are done in black script and all spaceship decals are based on VSS Enterprise, the first SpaceShip Two to fly above the Karman Line. I would need to modify them significantly to be able to change the script to White, and also create the "Blue Eyeball" background that used on the tails of VSS Unity, not to mention the application of airbrushed Chrome Paint below placing the decals.
But, I've tackled bigger projects, recently, and succeeded.
The revision of the tail booms of the SpaceShip Two to something more akin to the look of VSS Unity, went better than expected. After putting down an airbrushed base coat of Tamiya Black, we did a series of airbrushed coats of Alclad II Chrome, feathering out the area where the chrome meets the white body of the fuselage.
After that was done, we created a set of decals of the Virgin Galactic logo, properly sized to fit the tail location and printed them on clear decal stock.
In order to get the best fit possible, I made a set of cutting templates from the re-scaled diagram of the model's decal placement section, with the cut-out location for the horizontal stabilizer on the outside of each tail. That way, the decals could be pre-cut to properly fit the tail, around the stabilizer.
When these decals were placed over the chrome surface, they allowed enough of the chrome to show through, creating as good a reproduction of the tail artwork as I could hope for.
To Sir Richard Branson, the crew of Unity22 & the staff of Virgin Galactic - "Thank You!!"
Watching this remarkable flight "forced me" to obtain a model of this magnificent vehicle and once more "think" that I may again one day fly into space.
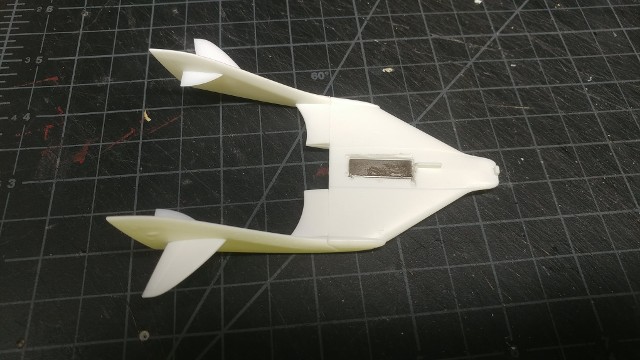
The Wing & Tail Boom section of SpaceShip Two, with the upper plastic cut out to allow insertion of a rectangular magnet.
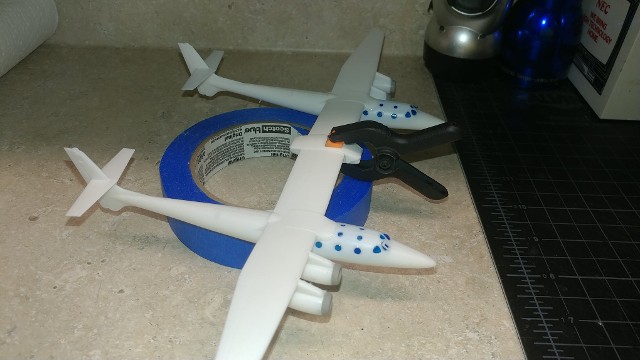
Similarly, we made a cut-out into the lower surface of the wing assembly and placed a magnet section inside the SpaceShip support pylon. After wards, the pylon's interior cover was glued into place.
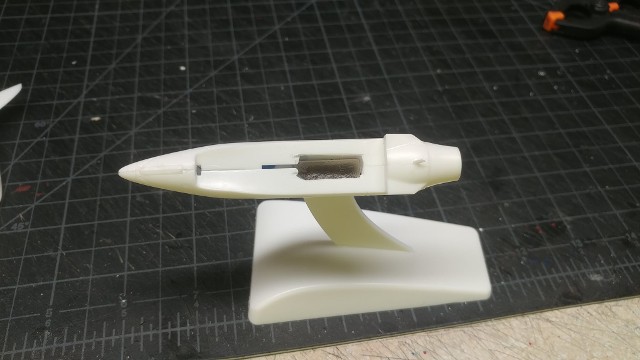
Inside the fusealge of the SpaceShip, a third magnet section was placed. This one was polarized to match the magent inside the pylon.
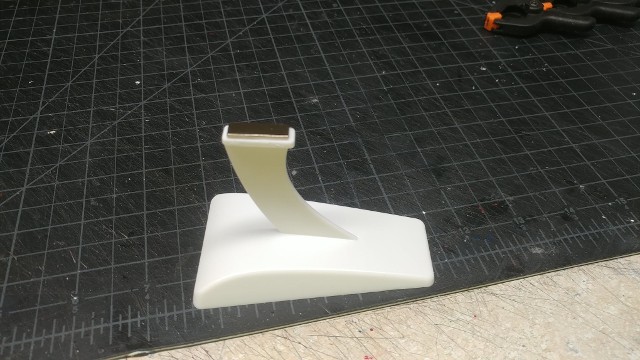
Lastly, a magnet was placed onto the top of the display stand. It's polarity matches either the Mothership's pylon or the SpaceShip's lower surface.
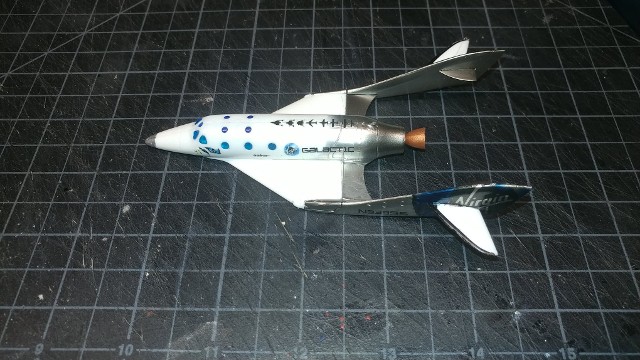
The SpaceShip, nearly completed, with Alclad Chrome cladding kit decals and our own clear "Virgin" logo decals on the Tail Booms.
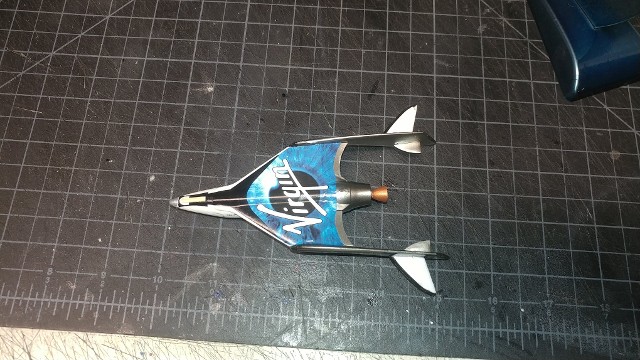
The underside of the SpaceShip, with the large Virgin Galactic logo decal, straight from the kit.
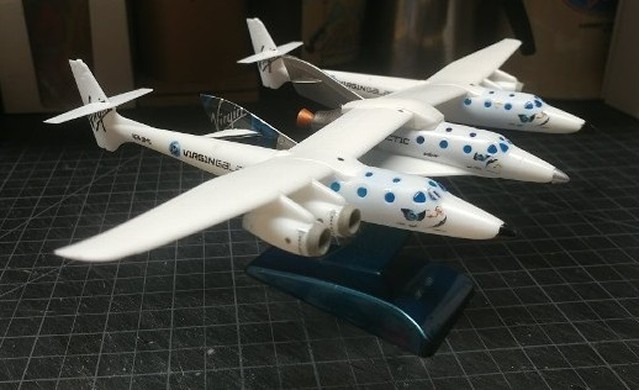
SpaceShip Two & White Knight Two, together.
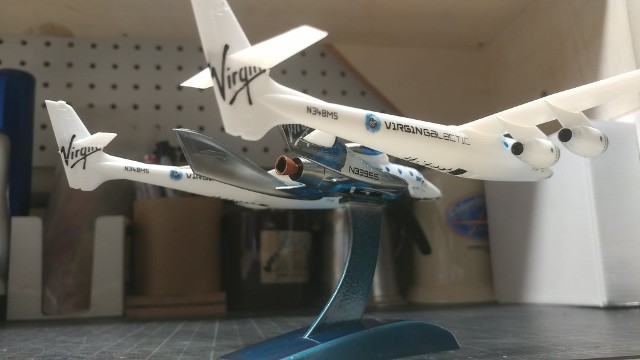

Lake County Space Port is now offering sets of the revised VSS Unity Tail Livery Decals through our WebStore. Click Here to get to the Store and scroll down to the most recent product entry to purchase them.