Well, here we go again...
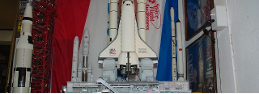
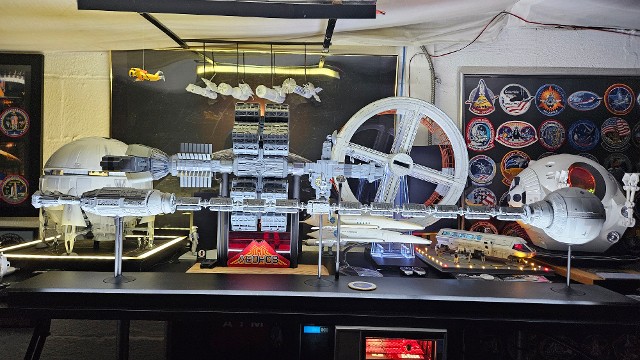
I have a model of Space Station V from 2001. It's a mixed media model from Fantastic Plastic. It looks nice on the 2001 display shelf.
I even got an acrylic display stand for it.
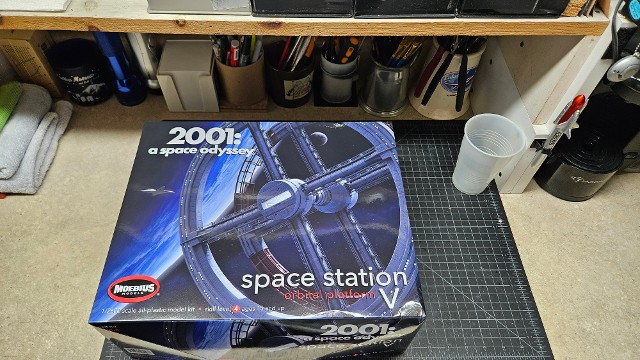
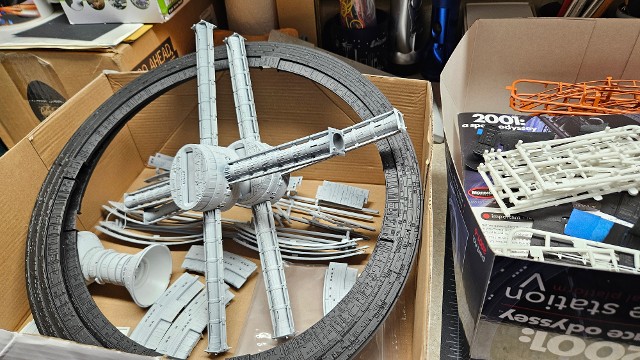
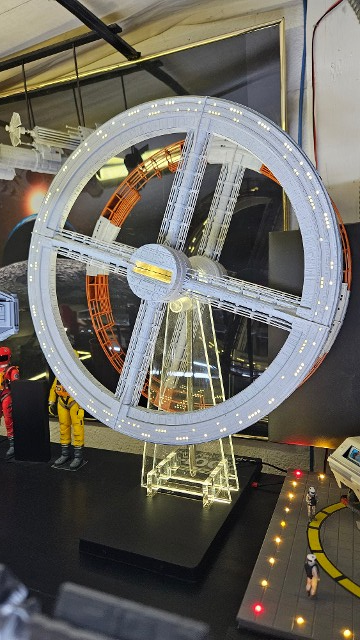
Then, my "dear friends" at Moebius Models decide once more to "raise the stakes of the game." They produce and release the first-ever injection molded model of Space Station V and make it large enough to be LED illuminated.
Oh, damn...I guess you know what happens next. Yup. I ordered one.
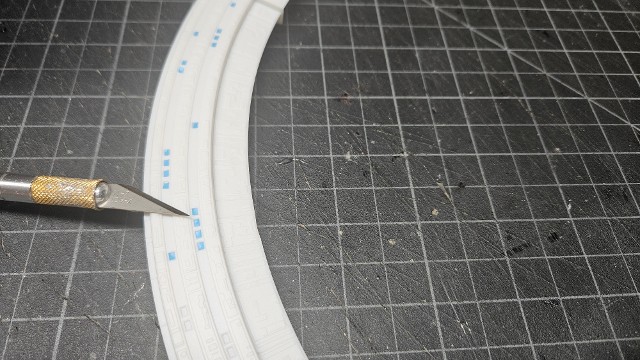
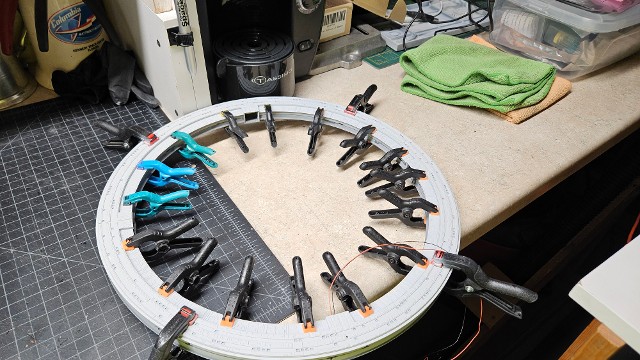
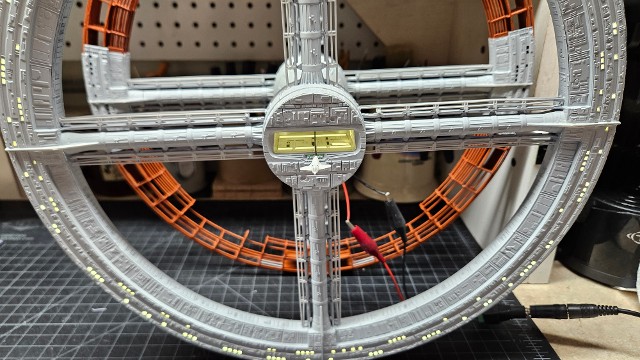
The whole point of doing this new version of SS-V was to be able to do LED lighting of the populated ring of the Station, so it looked like it did in the film. Normally, this simply means placing LEDs into the interior cavity to back light the clear plastic window openings. But Moebius decided not to do actual window openings on the rings – only window recesses. This meant that the light would need to shine through the white plastic body of the ring, so simple interior light-blocking would not work. All light blocking would have to be done on the exterior, prior to applying the final color. That also meant masking off each one of those little windows.
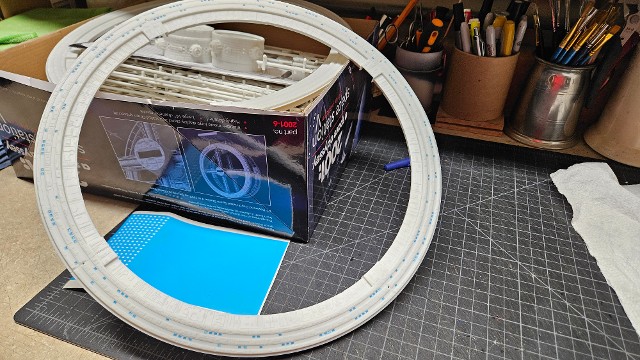
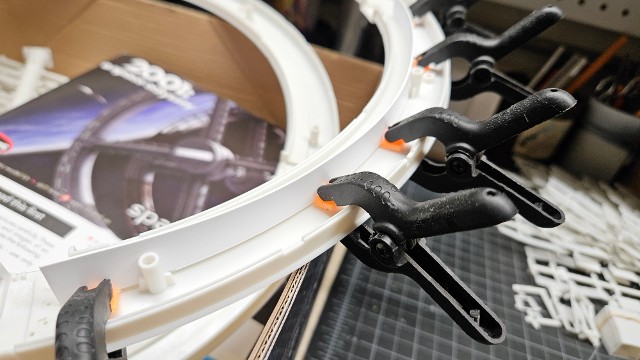
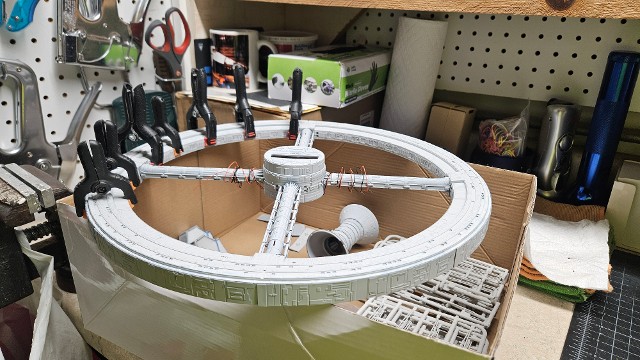
I also decided to add a “shelf” of sheet styrene would need to be installed onto the step line on the inside of the one ring half. The LED strips could then be applied to the shelf before assembling the halves. This gets the light source closer to the “windows” and blocks off the light towards the inside of the ring.
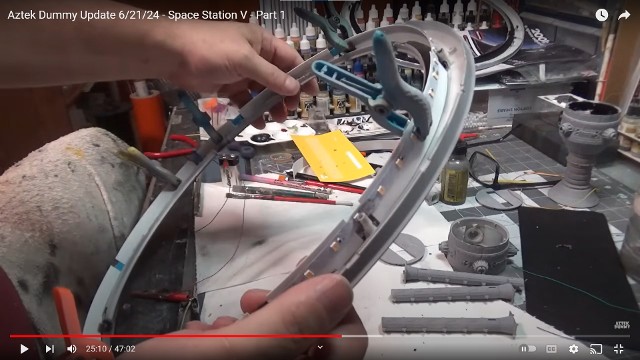
After doing some initial web-based research, I saw how another modeler, Lou Dalmaso of “Aztek Dummy,” was planning on placing LED strips into the completed ring of the Station. Aztec Dummy is famous for paint masks for special modeling projects, but Lou was late getting his window paint masks out to the market, so I ordered my masks from HD Modelworks in Texas, who had their masks ready to go.
The first step was the placing of the tiny window masks onto the outer surfaces of the ring sections, as well as the window surfaces of the two docking bays of the station.
The whole exterior of all station elements was started in Citadel Chaos Black, as a primer and "light-block," and then done with a Citadel Corax White final color coat. Luckily, I stocked up on a couple cans of Corax White before they decided to discontinue it, so ww were OK. It's just the right shade of off-white that worked on the big Discovery model and it will work just as well on the Station.
I lightly applied the Corax White over the black base, which created “shadows” on many of the detail features of the model, increasing the sense of detail depth. Nice!
After the Corax White coating was completed, it was time to remove the window masks and check for any residual light leaks.
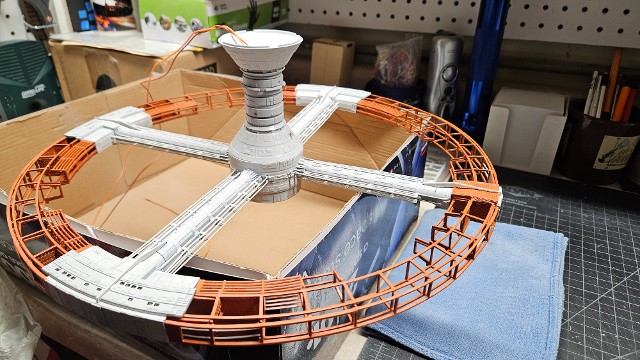
The second ring of the Station is still “under construction” in the film. Moebius supplies all the open trusswork components to model those sections. Trying to judge the “actual” color from movie stills is a challenge, as the very intense lights used tend to shit the colors. I decided to use Satin Cinnamon for the construction sections, as this color looks like a “light rust red,” with less yellow than International Orange would have looked.
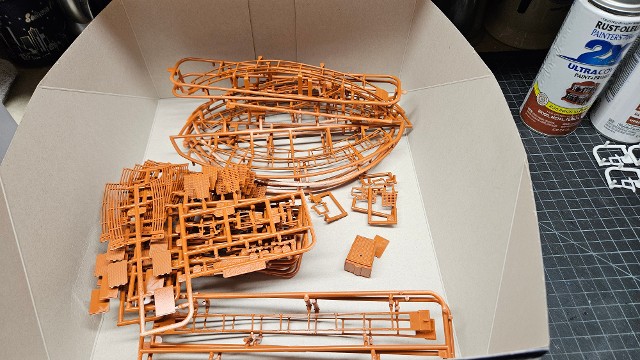
While the assembly of the "construction ring" of Station was well underway, it has been the biggest set of challenges of this model thus far.
Lots of small "fiddly-bits" to deal with, joints that take forever to set and the sometimes let go when you try to apply the next part.
Yet, we endeavored to persevere. If this process requires that we place a part and leave it alone overnight to do the next part, so be it.
The biggest challenge has been to overcome the need for rapid gratification. Modeling is not a sprint - it's a marathon. I needed to treat it as such.
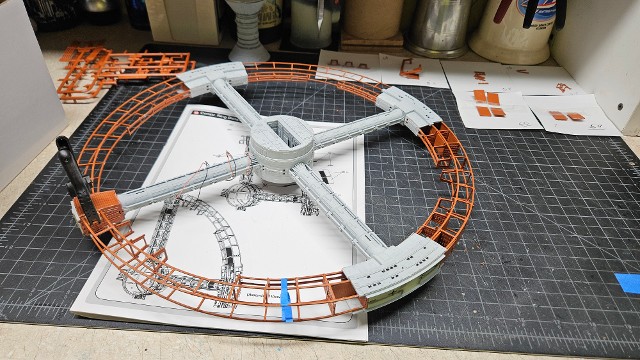
I decided to do only one or maybe two added elements to the construction ring at a time and allow the joints to properly cure before proceeding.
In the film, you never saw the Docking Bay on the construction side of the station. All the action in the film with the Orion Space Clipper rendezvousing with the station was on the completed side.
However, in a movie poster painting done by the late Robert McCall, the "rear" Docking Bay is shown, with a departing Clipper, and the bay is bathed in a reddish glow, while the "active" Docking Bay in the film was a yellowish-white color.
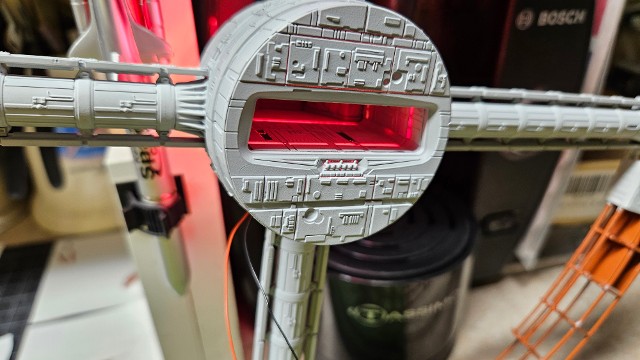
I remembered McCall's take on the station and added a strip of red 0.050" thick plastic film over the LED strip inside the back hub, which backlights the unpainted white plastic open areas of the bay surfaces. I liked the results. A similar strip of yellow plastic will be used on the main Docking Bay.
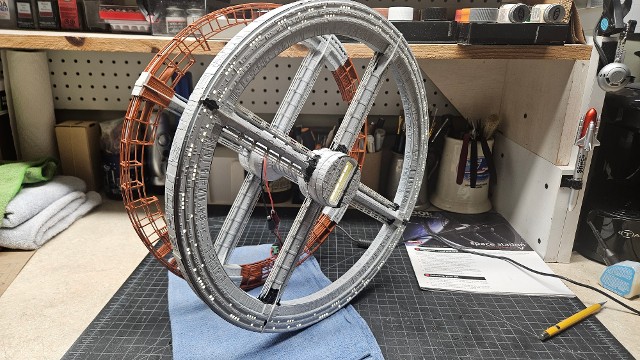
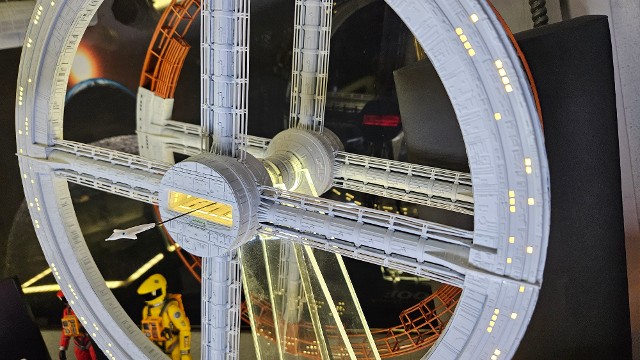
The final "D" segment of the construction ring was finally completed. Next came the lay-up of the outer and inner piping details to complete the ring.
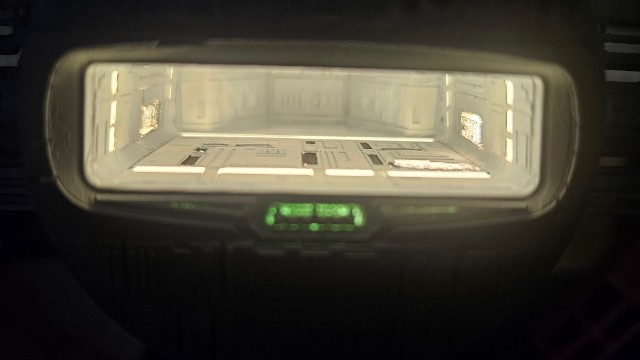
I also decided to try and add the "control room" images to the walls of the active Docking Bay, as they are seen in the film. I had to pull the images from the movie still-frames I pulled, correct for the perspective and re-size them to fit their locations. The upper and lower control room windows are 10 mm wide and 4mm tall, each. The side windows are 7 mm by 3 mm. Small stuff...
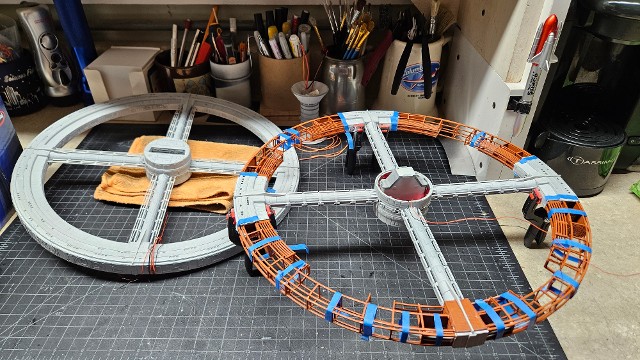
The two large sections of Space Station V are now locked together. I then looked over the final light-blocking to the construction ring's hub. Now, it's time to finish the same task on the small part of the front main ring.
Oddly, one of the biggest challenges showed up on the rear-facing side of the Main Ring. Evidently, the "shelf" placed onto the inner surface of the front ring half to support the LED strips did not come close enough to the inner surface of the back half to prevent light leaks - at least for about half of the circumference. So, I had to do more remedial light-blocking here than anywhere else.
Once these patches dried completely, I replaced the Citadel Corax White finish color, and our model will be pretty much completed. Only a new display stand and attaching the little Orion Space Clipper to the model remained.
The main color re-touching was done and the light-blocking results are exactly as we wanted. Even the clear green color I added to the Aim Point lights just below the Docking Bay entrance came out perfectly.
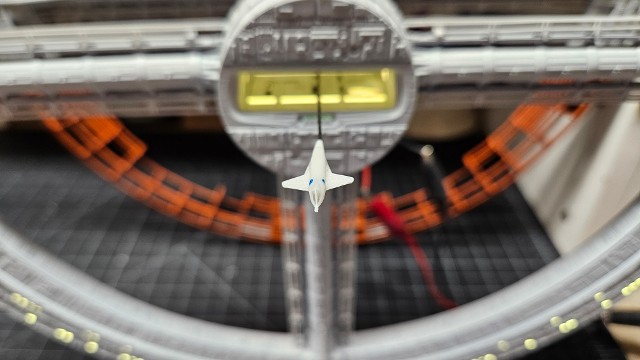
The final touch was to add the little Orion Space Clipper, placed, of course, on its way into the front-side Docking Bay. The short section of stiff steel wire used to support the Clipper was painted black, to minimize its appearance. I thought about a thin clear plastic rod, but that would have been too brittle to last. The steel wire will allow for removal and reinsertion without any issue.
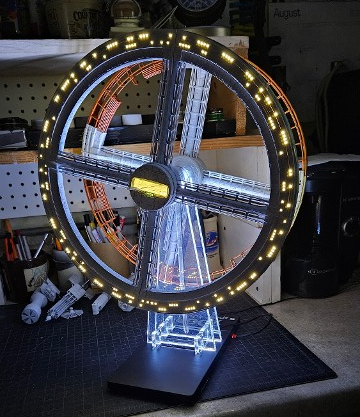
With the Moebius Space Station V model essentially completed, my attention turned to an appropriate display stand for it.
The Fantastic Plastic model of Space Station V rested on a support of two clear acrylic trapezoids, made & sold by another modeler, Marco Scheloske on eBay. Because the supports are clear acrylic, they could be illuminated by LEDs from below, which I added to the total display assembly to enhance the appearance. It was the only way to “illuminate” the Fantastic Plastic model, as the rings were solid resin and could not be lit from inside. This stand worked so well for that model that I wanted to “borrow” the concept for this new larger SS V Model. So, I drew up plans for the parts I needed and had TAP Plastics in California do the acrylic cutting and polishing.
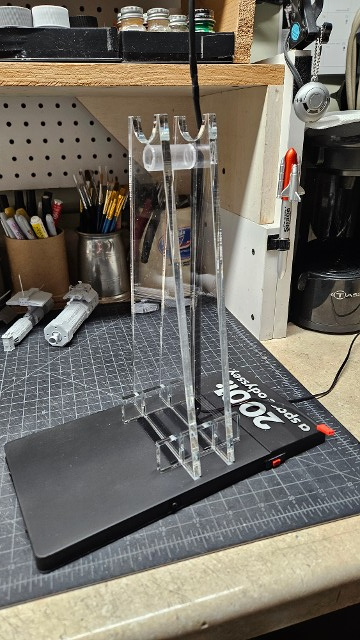
The finished parts arrived and looked great. Now, it was time to augment the Moebius display platform supplied to accommodate the LEDs and remote switches.
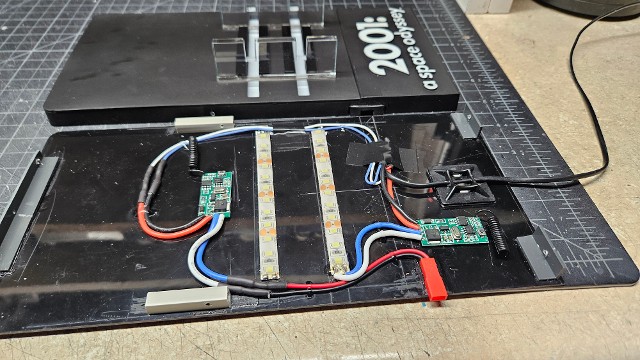
I used our Creality CR Falcon laser cutter/engraver to but out a pair of "window slots" into a 2 mm thick sheet of black styrene, which would allow the LED light to contact the bottom of the Clear Acrylic Supports. Clear and diffued plastic sheet were located under the window slots to separtate the interior from the exterior. I found I needed to secure the two acrylic Support Spacers to the top of the base as well. Inside the base, I located the two single-channel remote switches and the power socket for the connecting lead that runs up to the SS V model.
I use the remotes to selectively light the stand, or the Station, or both, at the push of a button.
The power connection jumper runs from the platform socket to the Station, inside of a black-painted plastic tube attached behind the rear support, making it almost invisible.
The results are exactly what I wanted them to be.
For a look at more and larger photos of the project build, use the link provided below to go to the ShutterFly Album Page for the model.
https://link.shutterfly.com/3wQsPmilJPb